
Hello! I hope everyone has fun this Fourth of July weekend. I have three U.S. Independence Day inspired nail designs for you. All three are of an easy difficulty level so everyone can wear something cute for the fourth.
break
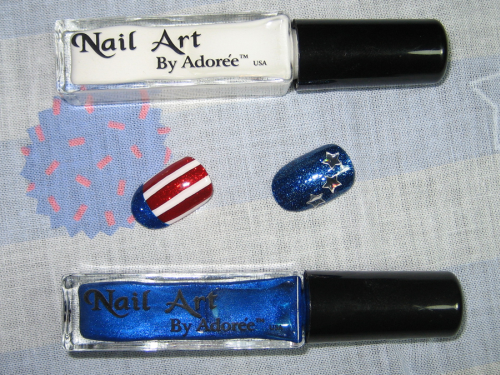
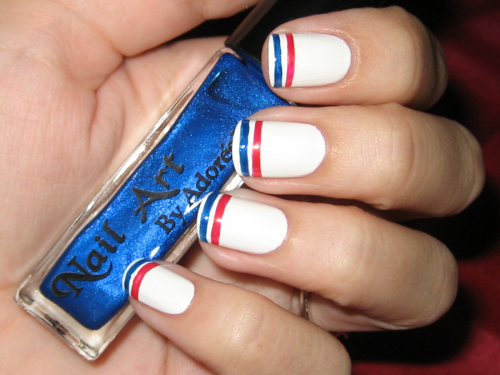
I used these Nail Art polishes by Adorée to make the flag stripes design. I used the white to draw out the stripes, and the blue to make a clean tip line; I then layered over a coat of glitter polish on top of the blue tip to add a bit of glitter. These Nail Art polishes have long, thin striper brushes that are ideal for drawing out straight lines and stripes. These were sent to me by the always friendly Esther's Nail Center.
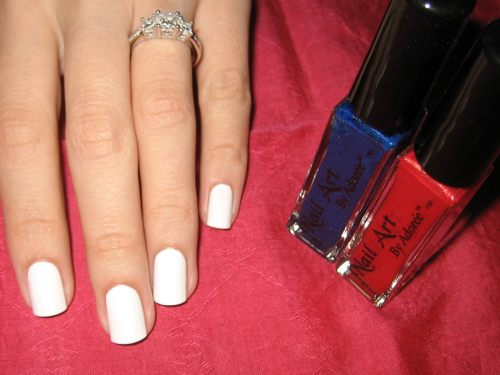
For the third Fourth of July design, start with a white creme base using white nail polish, such as Adoree Pure White #150.
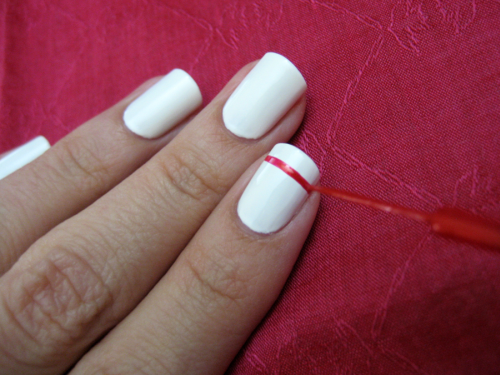
Draw out a red line near the tip of your nail. This "Red Eye" has a bit of a gold flash that I like, you can see it in the next picture.
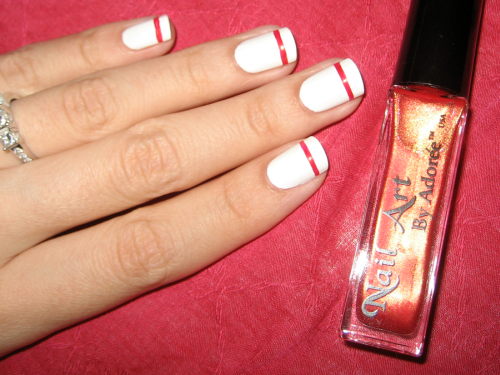
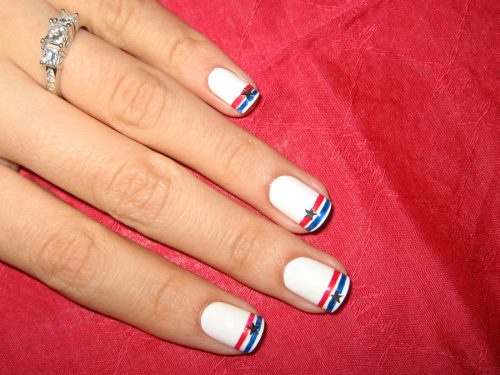
Repeat the process on the rest of your nails.
Next, using blue, draw out a similar line below the red. This is a fairly quick nail design to do, even though you're decorating every nail. It doesn't take very long to make a stripe on each finger.
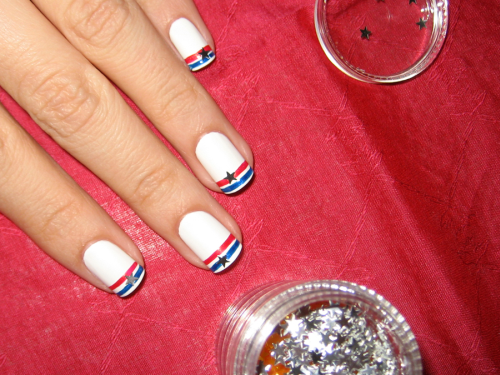
Easy stars and stripes!
Don't forget to add topcoat to fully cover the pointy edges of the stars so they don't catch on your clothing.
 Thank you to Esther's Nail Center for kindly sending me the three Nail Art by Adoree polishes I used in this post. They offer many different colors, some creme, some glitter and some with different colored flash like "Red Eye" shown here. They each cost $6 or can be purchased in bundles for a cheaper price.